
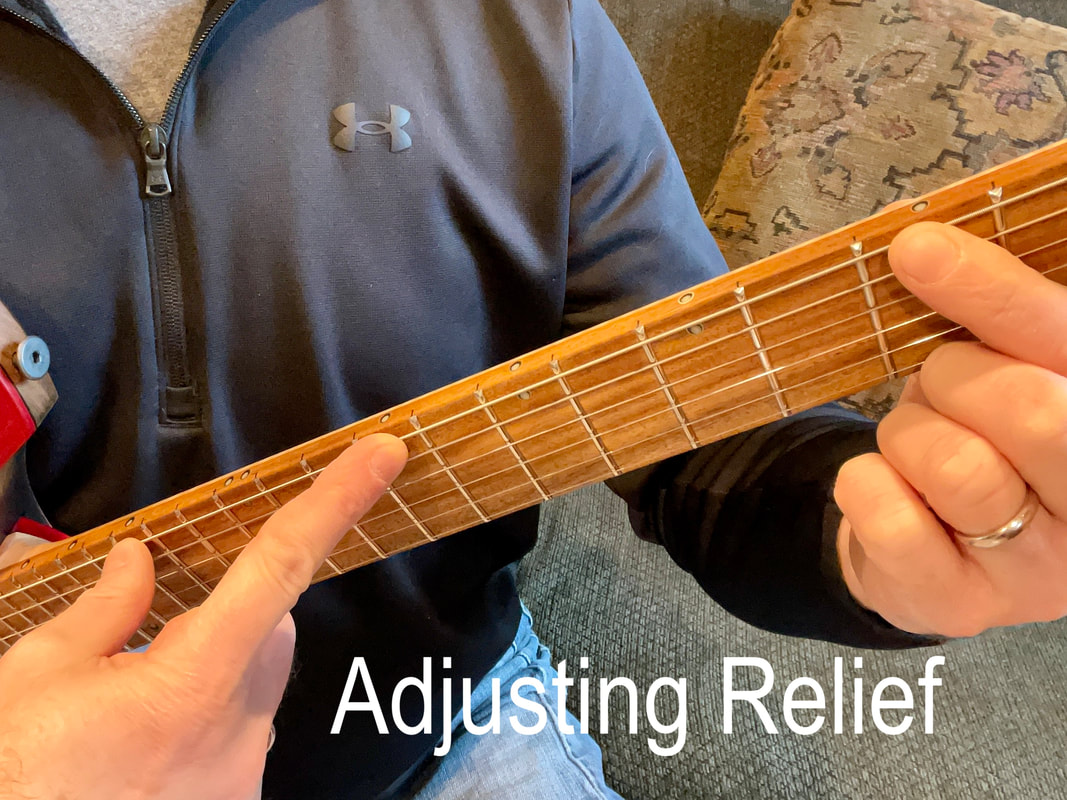
Adjusting Relief
Your Jayemar guitar or bass has a dual-action truss rod and carbon fiber reinforcement bars inside the neck. Relief is the amount of bow in the neck that allows the strings to vibrate at your desired action without buzzing. Under normal use and climate conditions, the neck should maintain its geometry and playability, but over time you may need to adjust the relief to reestablish good action. Also, changing string gauges will cause a change in tension on the neck, which will necessitate a relief adjustment (as well as the intonation). Follow these instructions to adjust relief. As always, if you are not comfortable making adjustments yourself, reach out to Jason for an appointment in the Portland Metro area, or recommendations for a guitar tech in your neighborhood.
|
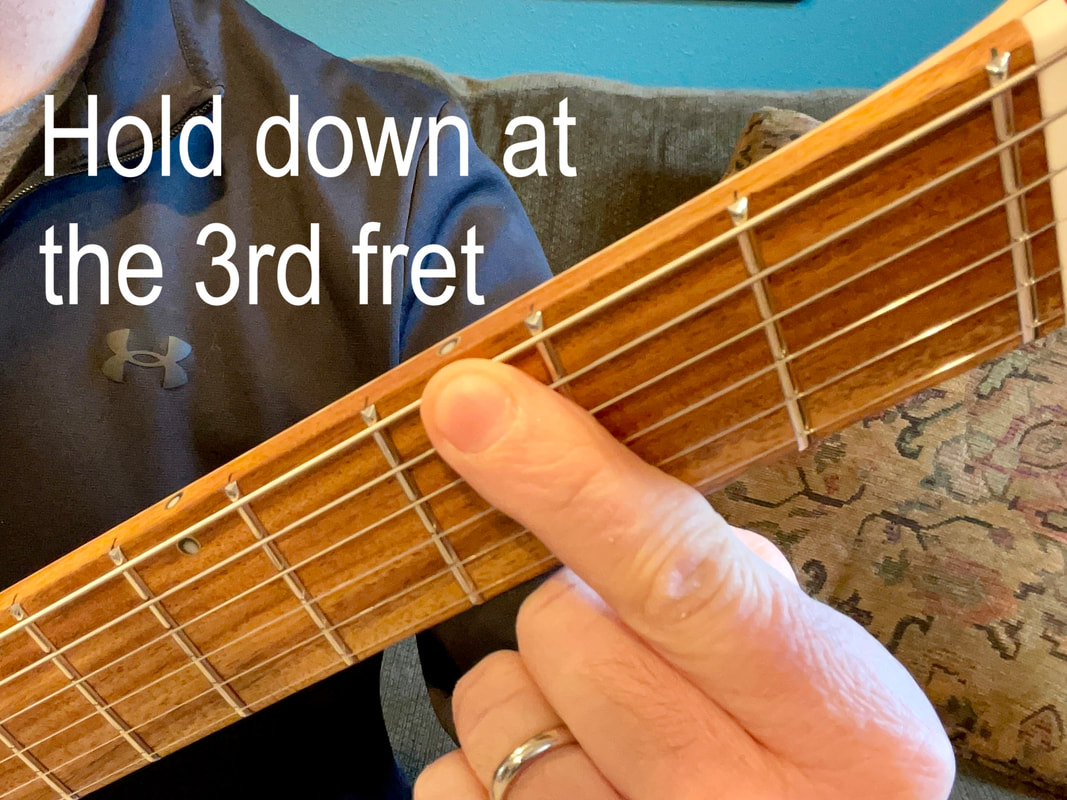
1. Using your playing hand, hold down the lowest string at the 3rd fret.
|
|
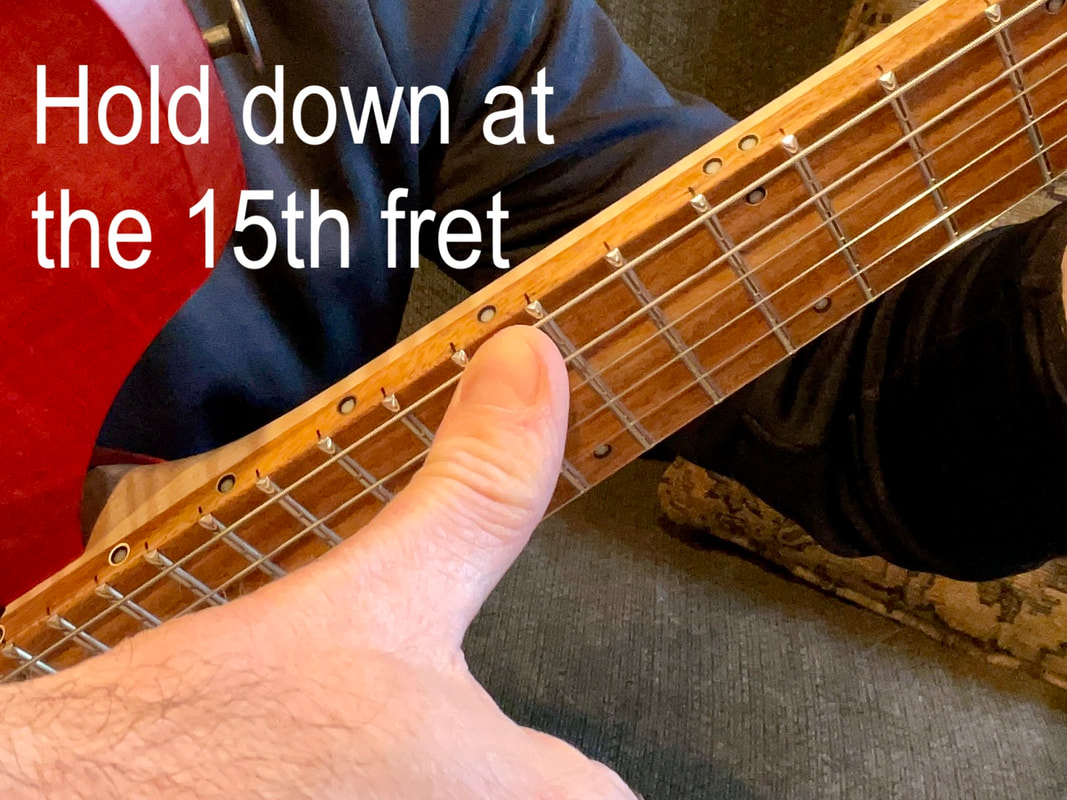
2. Using your picking hand, hold down the string at the 15th fret with your thumb.
|
|
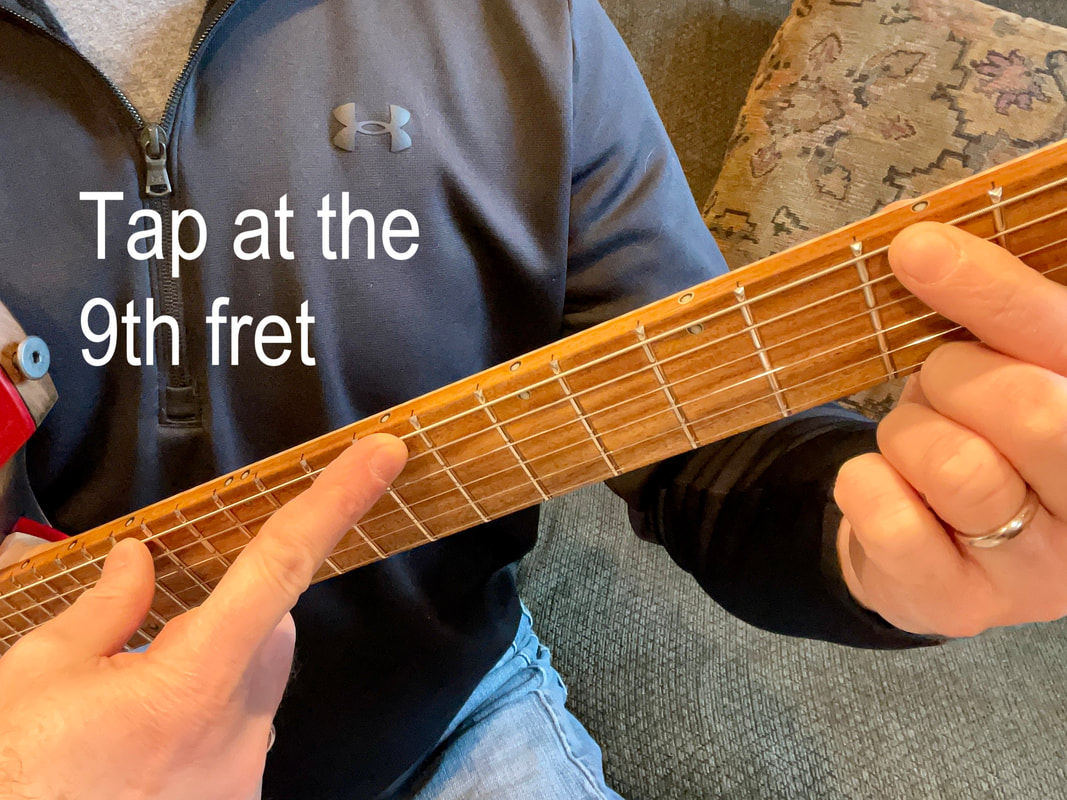
3. While holding down the string at the 3rd and 15th frets, reach with your index finger to tap at the 9th fret. There should be a very small gap here, about the thickness of a business card.
If the string is already touching the 9th fret, the neck is too straight, or even back-bowed. You may be experiencing a lot of buzzing up and down the fretboard. If there is too much space here, the neck has too much forward bow, and you may be experiencing higher than usual action. |
|
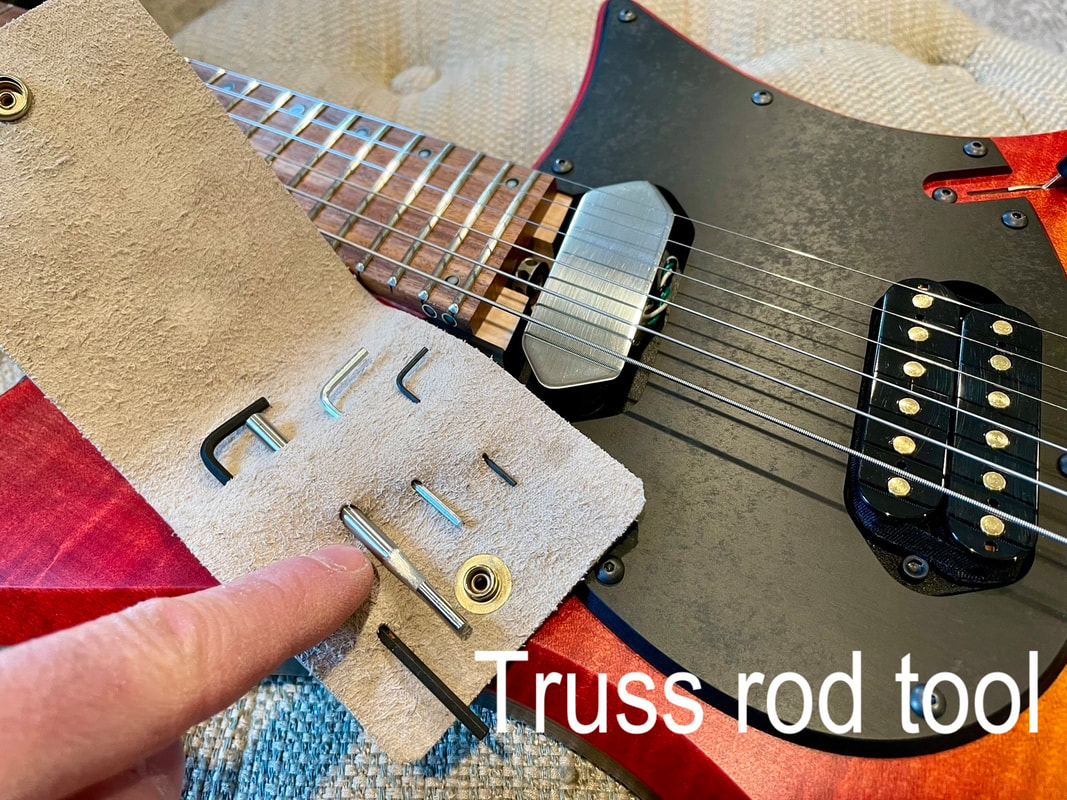
4. In your tool kit, choose the straight rod. This tool fits in the truss rod spoke wheel found at the neck heel.
If you are adjusting relief on your headless Jayemar instrument, choose the (largest) 4mm hex wrench. |
|
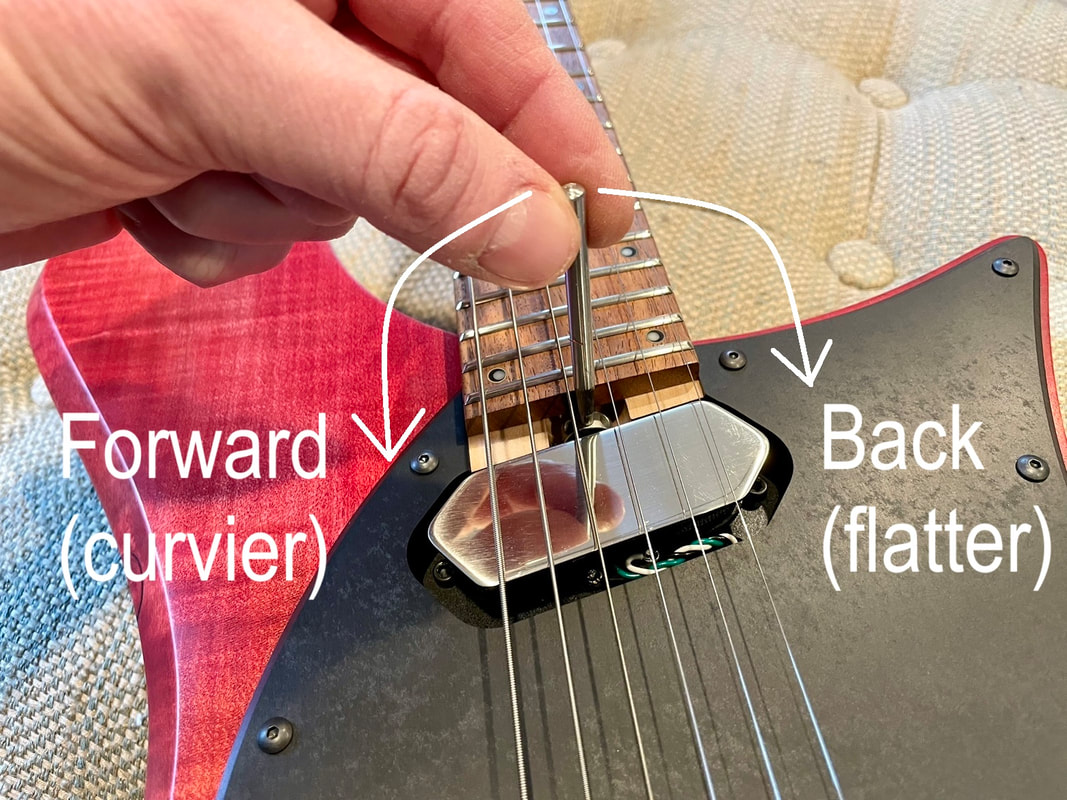
5. Insert the small end of the truss rod tool in the spoke wheel. Turn clockwise (right) to make the neck bow back, resulting in a flatter relief. Turn counterclockwise (left) to make the neck bow forward, resulting in more curve. It is recommended that you only adjust by 1/4 turn at a time, retune, and check the relief before adjusting more.
If you are adjusting relief on your headless Jayemar instrument, you will find a hole at the tip of the neck (the headless "nub"). Insert the 4mm hex wrench and feel it engage in the socket. |

|
6. Changing relief will change the tuning across all strings. Retune and check the relief and action for your desired playing feel. If you are adjusting relief because of a change in string gauge, it is suggested that you also check the intonation.
|